AI Video Workflow 2026: Image → Video → Upscale → Final Edit
Creating AI videos in 2026 is no longer about finding one tool that does everything. The best results often come from combining several tools and giving each one a specific job.
A simple and effective AI video workflow can help you create more consistent results:
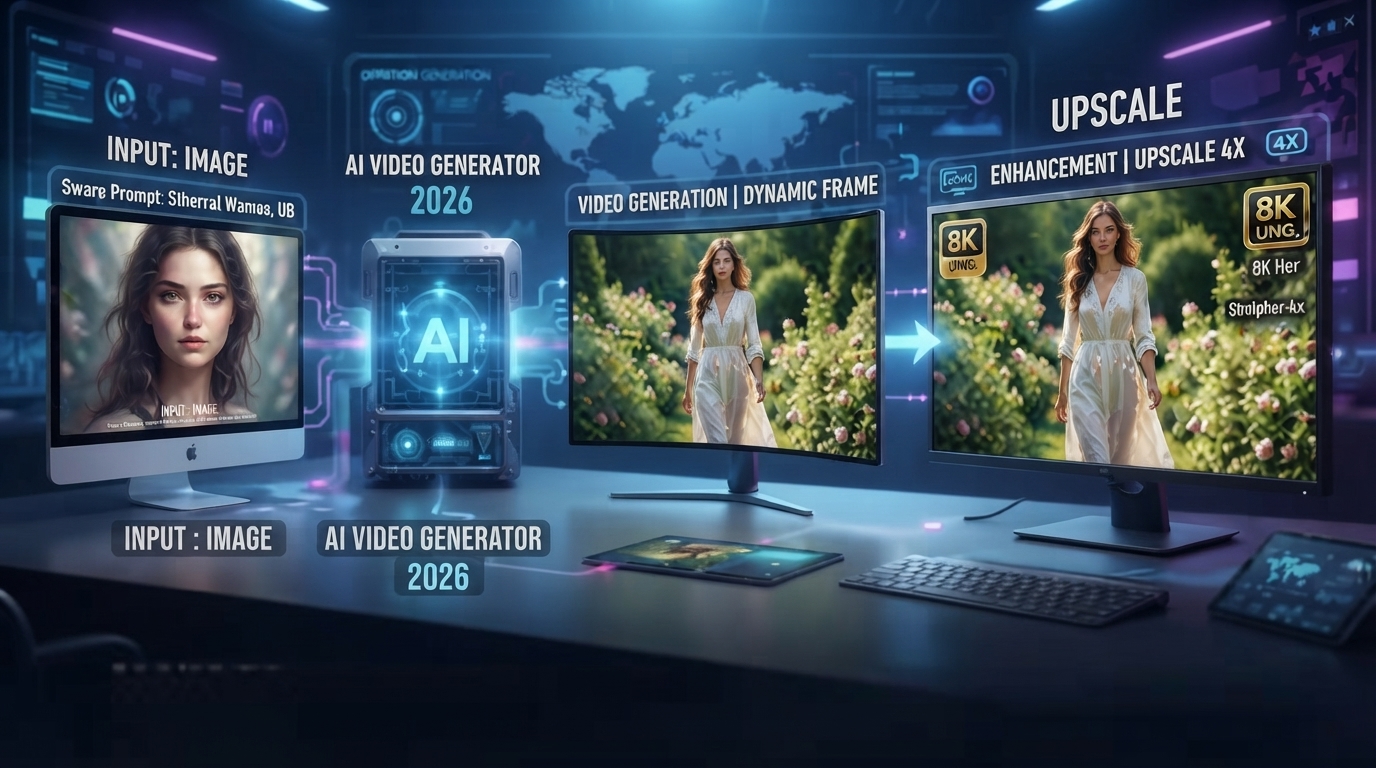
Image → Video → Upscale → Final Edit
This workflow gives you more control over the final result. Instead of asking an AI model to create an entire video from a text prompt, you first create a strong image, turn that image into a video, improve the quality if necessary, and then finish the project in a video editor.
Whether you are creating YouTube videos, Instagram Reels, TikTok videos, Shorts, product animations, or cinematic AI scenes, this workflow can make the process easier and more predictable.
Table of Contents

Why Use an AI Video Workflow?
A well-planned AI video workflow gives you more control.
A character’s face might change between frames. Hands can become distorted, clothing can suddenly look different, or the camera may move in a way you did not expect.
This is one reason why an image-to-video workflow can be so useful.
Instead of asking the AI to invent everything at once, you first control the visual appearance with a still image. Then you tell the AI how that image should move.
This gives you more control over:
- characters
- environments
- lighting
- composition
- camera angles
- visual style
- motion
The basic idea is simple:
Create the look first. Create the movement second.
Step 1: Start With a Good Image
The first stage of the AI video workflow is creating
This might sound obvious, but it is one of the most important parts of the process. If the original image has poor composition or inconsistent details, the video model may have difficulty creating natural movement.
For a character-based scene, pay attention to the face, body position, lighting, clothing, and background.
Try to avoid images that are unnecessarily complicated. A clear subject with a well-defined background usually gives the AI more information to work with.
The final aspect ratio also matters.
For standard YouTube videos, 16:9 is usually the best choice. For TikTok, Instagram Reels, and YouTube Shorts, 9:16 is generally more suitable.
You do not always need an enormous image resolution either. A clean and detailed image with good composition is more important than simply making the image as large as possible.

Step 2: Image-to-Video Generation
This is one of the most important parts of the AI video workflow
This is where Image-to-Video AI tools become useful. Depending on your project, you can experiment with tools such as Google Veo, Kling, PixVerse, Sora, and other AI video models.
The goal is not to describe an entire movie in one prompt.
Instead, focus on four basic elements:
Subject + Action + Camera + Style
For example:
A woman slowly turns toward the camera while her hair moves naturally in the wind. The camera gently pushes forward. Cinematic lighting and realistic movement.
This prompt tells the model what the subject is doing and how the camera should behave without giving it too many conflicting instructions.
Keep the Motion Simple
One of the most common mistakes when creating AI videos is asking for too much movement.
For example, you might ask for a character running, while the camera spins around them, the background changes, objects fly through the scene, and strong wind moves everything at the same time.
It sounds impressive, but AI models can struggle with complex instructions like this.
In many cases, subtle movement looks more realistic.
You can try:
- a slow head turn
- natural blinking
- gentle hair movement
- a slow camera push-in
- subtle clothing movement
- moving shadows
- light reflections
- a slow camera pan
The goal is not to make everything move.
The goal is to make the right elements move naturally.

Step 3: Control the Camera
Camera control is another important part of an effective AI video workflow.
A simple image can become much more cinematic with the right camera movement.
Some useful instructions include:
Slow push-in – the camera slowly moves closer to the subject.
Slow pull-back – the camera gradually moves away.
Pan left/right – the camera moves horizontally.
Tilt up/down – the camera moves vertically.
Tracking shot – the camera follows the subject.
Orbit shot – the camera moves around the subject.
If you are just getting started, it is usually better to use one main camera movement.
For example:
Slow cinematic push-in toward the subject.
This is easier for the model to interpret than a prompt asking for several different camera movements at once.
If the first generation does not look right, change the camera instruction rather than rewriting the entire prompt.
Step 4: Generate Several Versions
Testing several generations makes the AI video workflow more reliable.
That is completely normal.
Instead of accepting the first result, generate several variations and compare them.
Look carefully at:
- facial consistency
- body movement
- hands and fingers
- background stability
- camera movement
- lighting
- unwanted flickering
- strange object deformation
Sometimes a clip that looks less dramatic actually works better because the movement feels more natural.
This is an important part of the AI video workflow treat AI generation as an iterative process.
Generate.
Review.
Adjust.
Generate again.
Then select the strongest version.
If you are using PixVerse, you can also check our PixVerse workflow guide for better results for additional practical tips.

Step 5: Upscale the AI Video
Upscaling fits naturally into the next stage of the AI video workflow.
AI-generated videos may not always have the resolution or detail you need for the final project. An AI video upscaler can increase the output resolution and sometimes improve the appearance of fine details.
However, upscaling should not be considered a solution for a bad generation.
If the original video contains a distorted face, broken hands, or major visual artifacts, simply increasing the resolution will not necessarily fix those problems.
That is why the workflow should be:
Good image → Good AI generation → Select the best clip → Upscale
rather than:
Bad generation → Upscale → Hope for the best
Always try to solve major visual problems at the generation stage first.
Step 6: Final Video Editing
After generating and upscaling your clips, it is time for the final edit.
This is where separate AI-generated scenes can become one finished video.
You can use an editor such as DaVinci Resolve, CapCut, or another video editing application.
During the final edit, you might add:
- background music
- sound effects
- voice-over
- subtitles
- transitions
- color correction
- logos
- title cards
- speed adjustments
- additional video clips
The important thing is not to add effects just because they are available.
Good editing is often about keeping things simple.
A clean cut, suitable music, natural sound effects, and readable captions can make a bigger difference than dozens of flashy transitions.
A Simple AI Video Workflow for 2026
The complete process can be summarized like this:
1. Create the Image
Build the visual foundation of your scene.
↓
2. Generate Image-to-Video
Add controlled movement and camera motion.
↓
3. Create Variations
Generate several versions instead of relying on one result.
↓
4. Select the Best Clip
Choose the version with the most natural movement and fewest visual problems.
↓
5. Upscale
Improve resolution when necessary.
↓
6. Final Edit
Add music, sound effects, captions, transitions, and other finishing touches.
↓
7. Export
Create the correct format for your chosen platform.
This workflow is simple, but it gives you significantly more control over the final result.
How to Write Better Image-to-Video Prompts
Long prompts are not automatically better.
A simple structure is often enough:
Subject + Action + Camera + Style
For example:
A man walks slowly through a futuristic city at night. Neon lights reflect on the wet street. The camera follows him from behind with a slow cinematic tracking shot. Realistic movement and natural lighting.
This gives the AI a clear idea of what should happen.
If the result contains too much movement, simplify the prompt.
If the camera is moving incorrectly, focus on the camera instruction.
If the character is changing too much, simplify the action.
Small changes can sometimes produce a noticeably better result.

Common AI Video Mistakes
Asking for Too Much Movement
Complex motion can cause unstable results. Start with subtle movement and increase the complexity only when necessary.
Using an Overly Complicated Prompt
A prompt containing too many instructions can make it harder for the model to prioritize what matters.
Keep the main action clear.
Starting With a Weak Image
The quality of the starting image has a major influence on the final video.
Spend time getting the composition right before generating motion.
Trying to Save Every Bad Generation
Sometimes the fastest solution is simply to generate another clip.
If the face is badly distorted or the movement is unnatural, don’t spend too much time trying to repair it.
Adding Too Many Effects
A video does not automatically become more professional because it contains more effects.
Use effects when they serve a purpose.
How Long Should an AI Video Be?
The ideal length depends on the platform and the type of content.
For TikTok, Instagram Reels, and YouTube Shorts, short scenes can work extremely well.
For YouTube, you can combine multiple AI-generated scenes into a longer story, tutorial, review, or cinematic sequence.
Rather than generating one long AI video, it is often better to create several shorter clips.
For example:
Scene 1 → Scene 2 → Scene 3 → Scene 4 → Final Edit
This approach gives you more control.
If Scene 3 does not work, you only need to regenerate that scene instead of starting the entire project again.
Final Thoughts
The AI Video Workflow : Image → Video → Upscale → Final Edit approach provides a practical way to create better AI videos while keeping more control over the creative process.
The biggest advantage is flexibility.
You control the starting image.
You control the animation.
You select the best generation.
You decide whether upscaling is necessary.
And you control the final edit.
You do not necessarily need the most expensive AI video tool or the longest prompt to create something good. What matters more is having a workflow that makes sense.
Start with a strong image. Keep the motion natural. Generate several versions. Choose the best one. Upscale when needed. Then finish the project with careful editing.
As AI video technology continues to develop throughout 2026, knowing how to combine different tools may become just as important as knowing how to use any individual AI video generator.
The real advantage is not simply finding the newest AI video model.
It is learning how to build a workflow that turns AI-generated assets into a finished video that actually looks good.
And that is where the AI video workflow becomes much more than just a list of tools. It becomes a repeatable process you can use for your next video project.