

PixVerse Workflow: How I Get the Best Results (My Personal Guide)
My PixVerse workflow focuses on simplicity to create high-quality animations. Creating stunning visuals in PixVerse doesn’t require complex or flowery prompts; in fact, the secret to success lies in keeping your instructions simple and direct. After spending significant time testing the platform, I have found that clear, concise prompts consistently deliver the most predictable and professional results.
Table of Contents
Here is how you can master high-quality animations using a more minimalist approach:
1. Focus on the Core Fundamentals
Instead of overcomplicating your input with excessive adjectives, describe only the essential elements of the scene. Focus on the primary subject, the specific lighting setup (such as neon tones, cinematic soft light, or natural daylight), and the overall artistic style. This clarity helps the AI understand the intent without getting lost in unnecessary details. Think of it as painting a picture for someone who has never seen the scene—what are the most critical visual anchors?
2. Balance the “Motion” Slider
While it is tempting to push the motion slider to the maximum to achieve high-energy animation, I have found that keeping it around 40–50% is the “sweet spot.” This range ensures a natural, fluid look and prevents the common issues of glitching, texture warping, or unnatural character distortions that often occur at higher settings. By restricting the motion, you allow the AI to maintain structural integrity, which is vital for professional-looking content.
3. Master the Art of Iteration
Achieving a perfect output is rarely a one-shot process. I often hit the “Regenerate” button 3 or 4 times using the exact same settings and prompt. Each pass allows the AI to interpret the movement differently, and through this process of iteration, you can capture the specific, fluid motion that aligns with your creative vision. Treat the AI as a collaborator that needs a few tries to “get it right.”
4. Bridge the Gap with Post-Production
Once you have your best generated clips, use external editing tools like CapCut to refine the pace. By strategically cutting and using speed adjustments, you can further enhance the professional look of your final animation, turning raw AI output into a polished masterpiece. Often, slowing down a clip by 10% or adding a subtle fade can fix minor artifacts that appear in the raw AI export.
5. Why My PixVerse Workflow Wins
Many users struggle because they “over-prompt,” causing the AI to hallucinate or break the image coherence. My PixVerse workflow thrives on specific, limited instructions. By stripping away the fluff and focusing on subject-action-environment, you give the AI the freedom to fill in the aesthetic details in a way that feels organic rather than robotic.
I have put together a step-by-step video tutorial to show you how I structure this exact workflow—from uploading the initial reference image to crafting an effective prompt and refining the final motion parameters to get that cinematic finish.
PixVerse Workflow: Why Simplicity Wins
Many users struggle because they “over-prompt,” causing the AI to hallucinate or break the image coherence. My PixVerse workflow thrives on specific, limited instructions. By stripping away the fluff and focusing on subject-action-environment, you give the AI the freedom to fill in the aesthetic details in a way that feels organic rather than robotic.
I have put together a step-by-step video tutorial to show you how I structure this exact workflow—from uploading the initial reference image to crafting an effective prompt and refining the final motion parameters to get that cinematic finish.
Frequently Asked Questions
- Do I need a paid subscription for these results? While paid tiers offer faster generation and higher resolution, these workflow principles apply to both free and paid accounts.
- What if the character morphs too much? This usually happens when the motion slider is too high or the prompt is too vague. Reduce motion and be more specific about character clothing and facial features in the prompt.
The Project Outcome
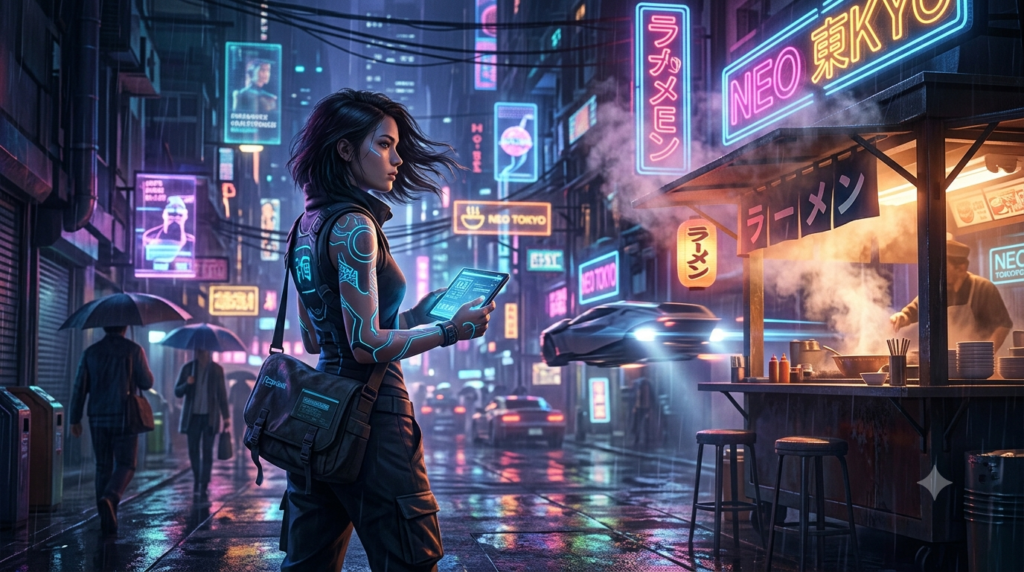
The final result of this testing phase highlights the power of simple prompt engineering. The smooth transition of the lighting and the realistic character movement demonstrate what PixVerse can achieve when configured with these balanced settings.
What are your thoughts on this workflow? Have you tried keeping your prompts simple for your own projects yet? If you want to dive deeper into alternative tools, make sure to check out our comprehensive AI Video Generator Comparison Guide on the homepage for more tips, tricks, and prompt breakdowns.
The final result of this testing phase highlights the true power of simple prompt engineering. Ultimately, by following this structured PixVerse workflow, you can achieve professional animation generation with much simpler settings than you might expect.
For more tutorials visit our homepage at: aianimmedia.com