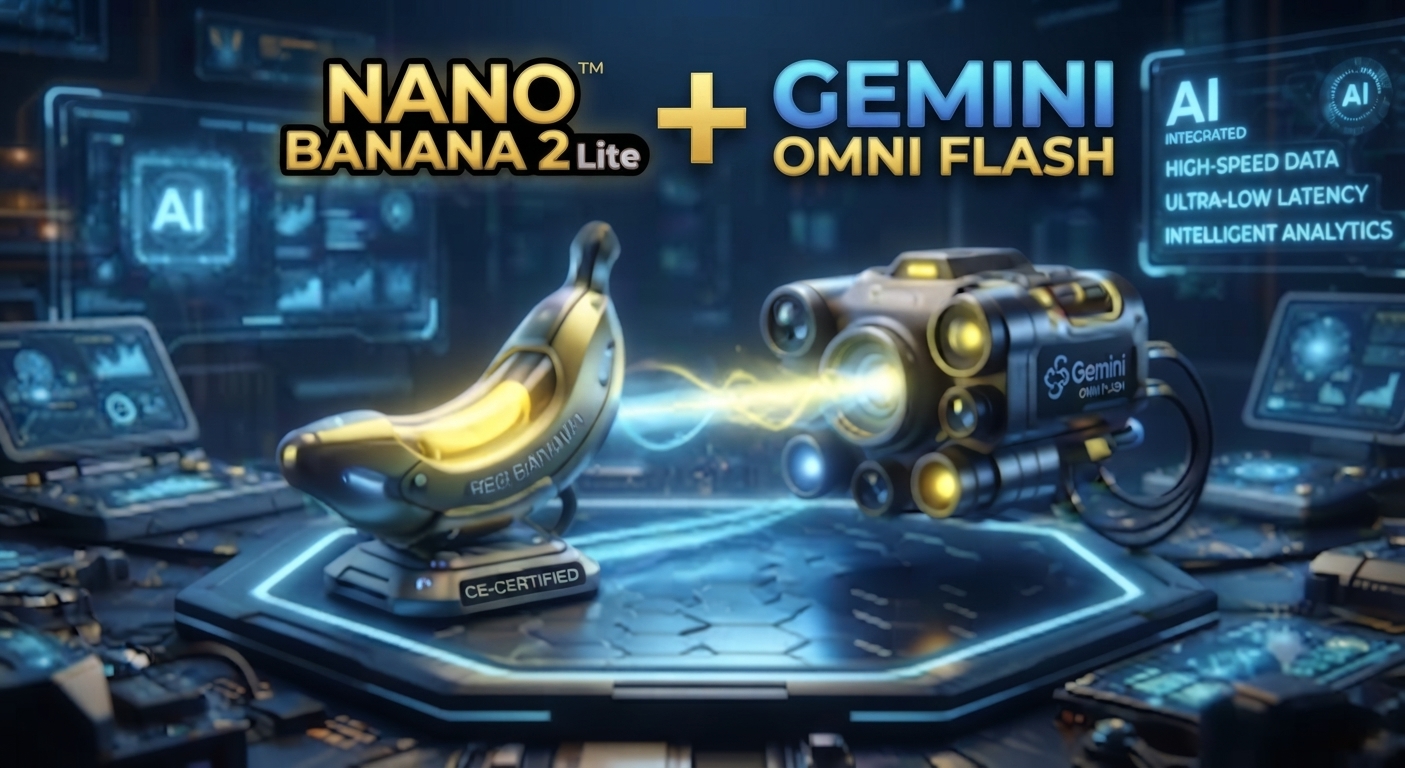
Nano Banana 2 Lite + Gemini Omni Flash: The Fastest Way to Go From Idea to Video Right Now
Nano Banana 2 Lite isn’t the tool people usually think of when they picture “cinematic AI video,” and that’s kind of the point. It’s cheap, it’s fast, and it was never built to be the star of the show. The actual magic happens when you pair it with Gemini Omni Flash, Google’s conversational video editor — draft an image in seconds, then talk that image into motion. If you’ve been doing image-to-video the slower way, this two-step combo is worth adding to your toolkit.
Table of Contents
Why Chain These Two Tools at All
Here’s the practical case for this workflow: Nano Banana 2 Lite generates a 1K image in about four seconds for roughly $0.034 per 1,000 images. That’s cheap enough to burn through ten or fifteen variations of an idea before you ever commit to animating one. Once you’ve got a still you actually like, Gemini Omni Flash takes that image and animates it conversationally — no separate editing software, just plain-language instructions describing the motion, camera movement, or scene change you want.
Google built these two models to work together on purpose, so this isn’t some workaround — it’s the intended pipeline. And if you’re used to sketching out an idea, testing a few looks, then animating the winner, this is basically that process compressed into minutes instead of an afternoon.

Step 1: Draft Fast With Nano Banana 2 Lite
Start in Google AI Studio or the Gemini API and generate your base image with Nano Banana 2 Lite. Because it’s built for volume rather than one perfect shot, don’t overthink your first prompt — write a clear, specific description of the subject, setting, lighting, and mood, then generate a batch of variations rather than agonizing over a single attempt.
A few things that help at this stage:
- Keep character details consistent across prompts (same clothing, hair, and physical description) if you plan to animate a recurring character later
- Describe lighting and mood explicitly — “soft golden hour light” reads very differently than “harsh overhead studio light” once it’s animated
- Generate 5–10 variations at once and pick your favorite rather than trying to nail it in one shot, since the cost per image is low enough that volume is basically free
Once you’ve got a still that works, you’re ready to move to the animation step.
Step 2: Bring It to Life With Gemini Omni Flash
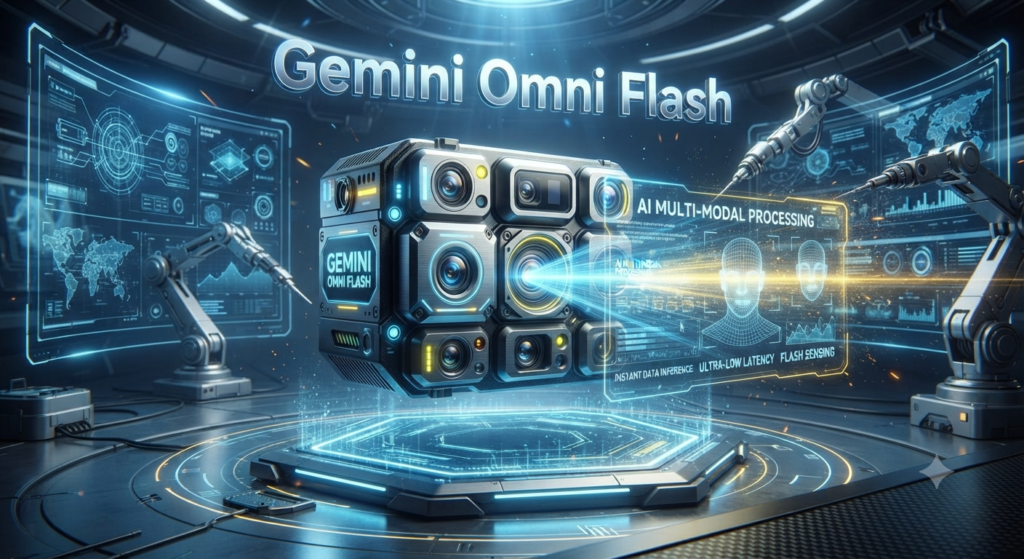
Feed your chosen image into Gemini Omni Flash and describe what you want to happen next — in plain language, the same way you’d direct a person. Want the character to turn toward the camera? Say that. Want the background to shift from day to night? Say that too. The model currently caps out at 10-second clips, so plan your motion accordingly rather than trying to tell an entire story in one generation.
Omni Flash also accepts multiple reference inputs at once — combining your base image with a short text description or even a second reference clip — so if you need the output to match a specific camera style or mood you’ve used before, feed that in as a reference rather than trying to describe it from scratch every time.
A Few Prompts That Actually Work
For the image stage with Nano Banana 2 Lite, specificity beats cleverness. Something like “a woman in a burgundy wool coat standing on a rain-slicked city street at dusk, neon signs reflecting in puddles, cinematic lighting” gives the model enough to work with without overcomplicating it.
For the animation stage with Gemini Omni Flash, keep your instructions to one clear action per generation rather than stacking multiple changes at once: “have her look up slowly as rain starts falling” works better than trying to add rain, movement, lighting changes, and a camera pan all in the same request. You can always run a second pass to layer in more.
Where This Fits Next to PixVerse
If you’re already using PixVerse for your main content, this Nano Banana 2 Lite plus Gemini Omni Flash combo isn’t a replacement — think of it as your rapid prototyping layer. Sketch out five or six concepts fast and cheap here, figure out which direction actually works, then bring your winning concept into PixVerse or Seedance 2.5 for the final, polished render you’re actually going to publish.
That split — fast and cheap for exploring ideas, slower and higher-quality for the finished piece — is honestly how a lot of professional creative workflows already operate, just compressed down to tools anyone can access from a browser.
For more hands-on AI tools you can start using today, check out our [AI Tools section] for the latest coverage.