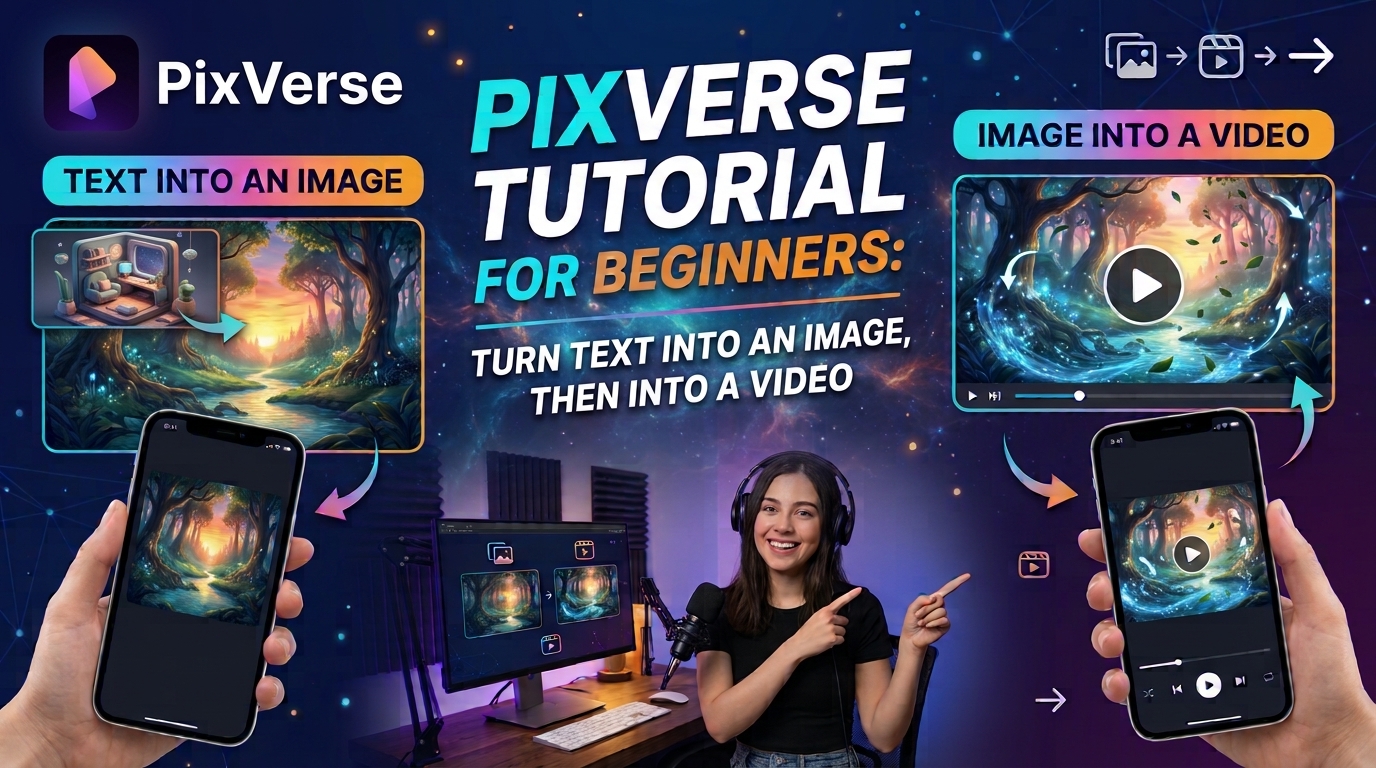
PixVerse Tutorial for Beginners: Turn Text Into an Image, Then Into a Video
So you’ve seen those smooth AI videos all over social media and you’re wondering how people make them. Good news: it’s not complicated. This PixVerse tutorial for beginners walks you through the whole thing, from typing a sentence to downloading a finished video clip.
The workflow is two steps. First you turn text into an image. Then you turn that image into a video. It’s the same approach I use in my own AI video workflow, and it gives you way more control than going straight from text to video.
Disclosure: This post contains affiliate links. If you sign up through them, I may earn a small commission at no extra cost to you.
Table of Contents
Why Image First, Video Second?
You can type a prompt straight into a text-to-video generator. Sometimes it works great. Often you get something random and burn credits finding out.
Starting with an image fixes that. You pick the exact look, character and composition first. When you’re happy, you hand that image to PixVerse and it only has to figure out the movement. Fewer surprises, fewer wasted credits. That’s why every good PixVerse tutorial for beginners starts with a solid image.
Step 1: Create Your Image From Text
You need a still image to start with, and you can make it right inside PixVerse. Its image generator costs 5 credits per image, so on the free plan you can generate about 6 images a day. Prefer another tool? Any text-to-image generator works too, such as ChatGPT, Gemini or Seedream.
Write a short, clear prompt with four things in it: the subject, the setting, the lighting and the style.
Example prompt:
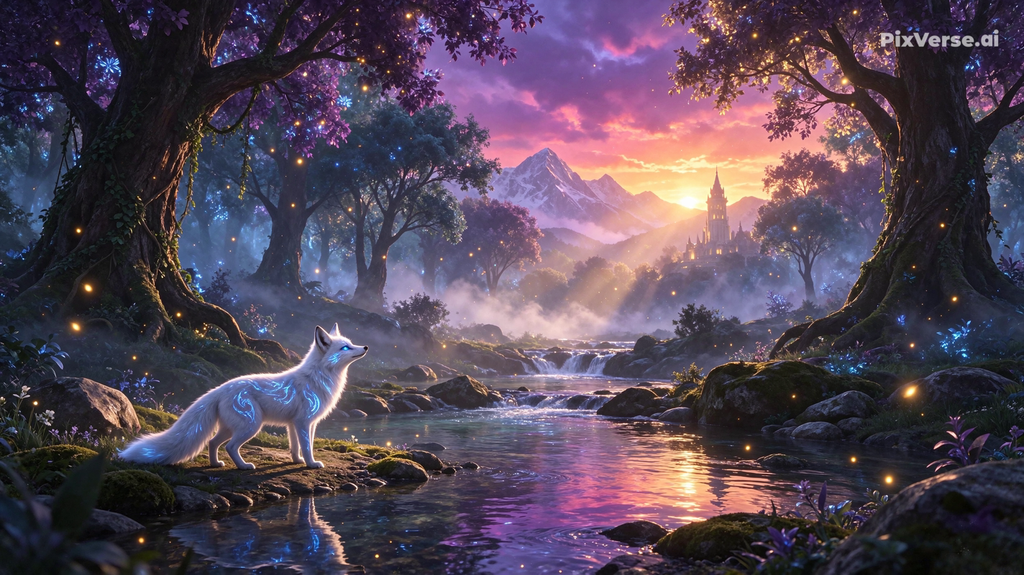
A white fox with glowing blue markings standing beside a winding river in a magical forest at sunset, giant luminous trees, floating fireflies and golden light particles, soft mist between the trees, volumetric light rays, vibrant purple and orange sky, ultra detailed fantasy art, cinematic wide shot
A few tips for beginners:
- Keep one main subject. Crowded scenes are harder to animate cleanly.
- Leave some space around the subject, because the camera and elements need room to move.
- Generate a few versions and pick the best one. This step is where quality is decided.
Save the image as a PNG or JPG.
Step 2: Open PixVerse and Choose Image to Video
Go to the PixVerse website and sign in with Google, Apple, Discord or email. Once you’re in the dashboard, choose the Image to Video option (it’s under the “Image or Text” creation mode).
Get started with PixVerse through our affiliate link
Free accounts get 30 credits every day. That’s enough for one 5-second video, or for 6 image generations (5 credits each). Plan your day around that: since a bad image wastes credits, spend them wisely. A good split is to generate 2 or 3 images one day, pick the best one, and save the rest of your credits for the video. (Credit amounts can change, so check your account page.)
Step 3: Upload Your Image
Click the upload area and select the image you just created. PixVerse will use it as the first frame of your video. That’s why this method keeps your look consistent: the video starts exactly from the picture you chose.
Step 4: Write a Motion Prompt
This is where most beginners go wrong, so this part of the PixVerse tutorial for beginners matters most. Don’t describe the image again. PixVerse can already see it. Describe only what should move.
Good motion prompts:
The fox slowly turns its head toward the camera, fireflies drift through the air, mist rolls gently over the river, slow push-in
Leaves sway in a soft breeze, the river flows calmly, the glowing trees pulse with light, subtle camera movement
Weak prompt:
A white fox by a river in a magical forest at sunset with glowing trees
That one just repeats the picture and tells the AI nothing about motion.
A simple formula: subject action + environment movement + camera movement.
For your first videos, keep it subtle. Static or slow camera, one clear direction of motion. Big, complicated action is where AI video tends to glitch.
Step 5: Pick Your Settings
You’ll see a few options. Here’s what I’d pick if you’re following this PixVerse tutorial for beginners:
- Model: use the newest one available. Newer versions generally follow prompts better.
- Duration: start with 5 seconds. It’s cheaper and easier to get right.
- Quality: 720p is fine for testing. Switch to 1080p only for the version you want to keep.
- Aspect ratio: 9:16 for TikTok, Reels and Shorts, 16:9 for YouTube or your website.
- Motion strength: go with medium. High motion can warp faces and details.
Step 6: Generate and Download
Hit Create and wait a short while. When it’s done, watch the preview carefully. Does the motion look natural? Do faces and hands hold up?
If yes, download it. If not, don’t panic. Adjust the prompt (usually by simplifying it) and try again. Even experienced creators rarely nail it on the first generation.
PixVerse Tutorial for Beginners: Common Mistakes to Avoid
- Describing the image instead of the motion. Say what moves, not what’s already there.
- Asking for too much. One action per clip works much better than five.
- Using a messy source image. Blurry or cluttered images give messy videos.
- Going straight to 1080p and long durations. Test short and cheap first.
- Giving up after one try. Treat the first result as a draft.
What to Do Next
Once you’re comfortable with this basic workflow, you can level up. Try different camera moves, animate the same character in several scenes, or upscale your final clip before posting. For more, check out my AI video workflow guide and my PixVerse upscale guide.
That’s the whole PixVerse tutorial for beginners in a nutshell: text to image, image to video. Start with one simple scene, keep the motion subtle, and you’ll have your first AI video in minutes.
Is It Worth Upgrading to a Paid Plan?
The free plan is perfect for learning. You can follow every step of this PixVerse tutorial for beginners and make your first video without paying anything. But once you’ve tested it and you like the results, I’d say a paid plan is worth considering.
The free version gives you only 30 credits a day, so you’re limited to one short video or a handful of images. A paid plan opens up much more:
- More creative control over motion. You can experiment with different movements and camera work, and try again when a result isn’t right, instead of counting every credit.
- Better video and image quality. Higher resolution and better output are easier to afford when you’re not working with a tiny daily budget.
- More room to experiment. AI video is trial and error. The more generations you can afford, the faster you learn what works.
My suggestion: start free, test the workflow from this tutorial, and see if PixVerse fits the way you create. If you find yourself running out of credits every day and wanting more control or sharper results, that’s the moment to upgrade.
Check PixVerse plans through our affiliate link
Have a question about PixVerse or your first video? Drop it in the comments.